Friday, 10 May 2019

Still more doors

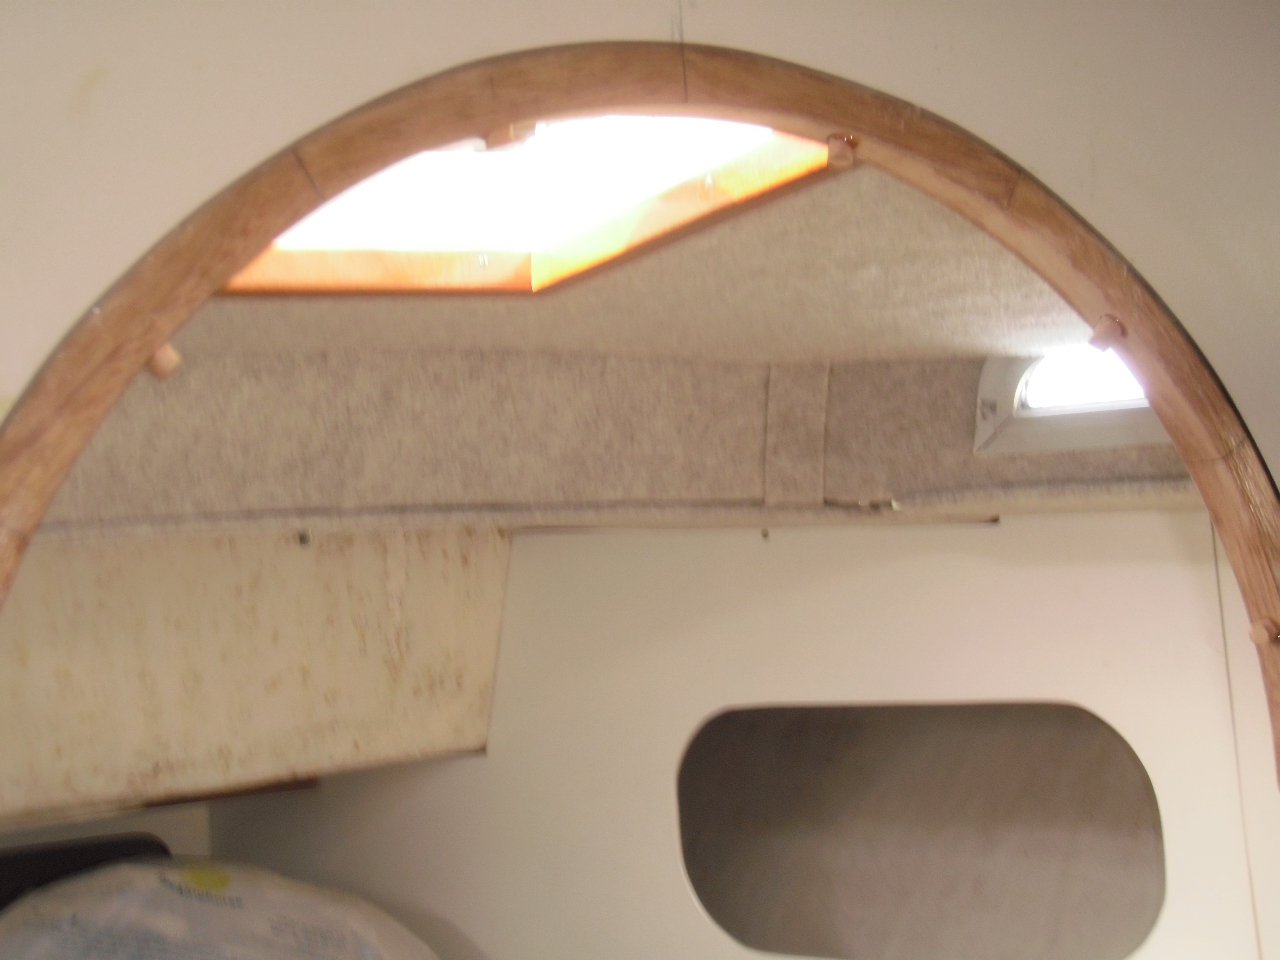
I made the top section for the aft door frame, in the same manner as that for the forward door, last weekend so the first job on Monday morning was to shape it to fit it into the door opening so that I could then mark the inner radius from the door.


Trial fitting of top frame section after marking the inner radius

I finished up the day by fitting the catch plate for the forward door I had forgotten to take the sketch home with me last Friday so I had made it from memory, unfortunately my memory is not what it was so there was some adjustments to be made. I took the top section of the frame home with me so that I could cut out the inner radius with the jig saw, I find it easier to do this sort of thing in the workshop.

On Wednesday I made the right hand vertical part of the door frame and then glued and screwed it in place along with the top section and left it to cure, to finish up the day I had a good clean up as it was a wet and windy day I had to work inside so there was a lot of dust and wood shavings to clear up.

Today I made and fitted the left hand vertical section of the frame and once I was happy with the fit it was screwed and glued into place.


Door frame in place

There was not much else I could do until the epoxy had cured so I finished up by plugging the screw holes around the frame  and having another clean up. Over the weekend I aim to make a new catch plate for the aft door latch, the original had gone missing and in any case it was only a piece of stainless steel or chromed brass strip so I think I can produce something better then next week the aim is to get the door hung, it will be nice to get them out of the way. There will still be a bit to do to complete the work the biggest part being the architrave/cover strip which will be required on both sides of the doors also an infill piece will be required at the bottom of both door openings as can be seen on photographs of the forward door but this will be just a simple piece of plywood.



Friday, 3 May 2019

Doors again

The first job on Monday was to glue and screw the left hand vertical section of the forward door frame in place then while waiting for the epoxy to cure I plugged all the screw holes, the plugs were cut from offcuts of timber left after cutting out the curved top section of the frame and glued in place with varnish.


Screw holes plugged.

I had made a stainless plate over the weekend and while the varnish on the plugs was drying I drilled through the door for the new latch and then fitted the plate followed by the door latch and the handles, unfortunately there are a number of redundant holes on the other side of the door in the blue laminate which were not covered by the new latch I am not sure what I am going to do with these at the moment but eventually I want to refinish both doors as the veneer on the opposite side of both doors needs some attention as well but this will be a job for the future as the main aim is to get the doors in place and out of the way.


Redundant screw holes etc


Stainless plate and new handles

On Wednesday I cut off the excess length of the plugs and sanded them flush and then faired in the various sections of the frame so that the door would open and close smoothly without sticking.


Frame faired  to allow door to close

I then moved on to the aft door beginning with temporarily screwing in place a piece of timber across the lower end of the door opening to support the door at its correct height to allow measurement of the door frame components, this led to the discovery that the sides of this door are not parallel they taper down by about 5mm at the bottom edge of the door, the sides of the opening are also not parallel, I can allow for this by tapering the frame side members.


Aft door set in position

I have sourced some more meranti for the aft door frame which I collected from a local timber merchant this morning, the supplier of the timber for the forward door frame did not have the required material in stock for the aft frame but could deliver from a central warehouse for £20 almost the price of the timber, the saloon bulkhead is much thicker than the forward heads bulkhead so requires thicker timber for the frame. After double checking that I had sufficient timber for the aft door frame I finished up the day by making and fitting a wooden block to take the catch plate for the forward door latch, this was screwed into place and the screw holes plugged. Over the weekend I shall make a new catch plate as the one that came with the latch would need some modifications before it could be used and as it is made of chrome plated brass I decided that I can do better with a piece of stainless steel.


Block for  catch plate mount

This weekend the aim is also to produce the curved section of the frame for the aft door then once the aft door has been fitted I still have to produce the covering board/architrave to cover the join between the door opening and the frame this will also form the door stops.


Friday, 26 April 2019

Went sailing

I didn't get a lot done last week as I went for a trip round to Stangate Creek on Wednesday stayed overnight before sailing back to the Swale on Thursday, the weather was cold and damp but I did get to try the chart plotter WiFi connection in anger, as the holding in the creek can be a bit iffy I left the chart plotter on with the anchor drag alarm set and took the tablet to bed with me so that when the tide turned and the alarm went off I didn't need to go outside to see what was happening isn't this technology wonderful?

I did manage to screw and glue the right hand vertical section of the forward door frame in place last Monday and hang the door so that I could measure for the left hand vertical section and then over last weekend I cut the timber to size and drilled the screw holes


Door secured to right side of frame

I arrived back in Conyer last Friday with a bit of an oil leak from the joint between the casting which holds the oil filter and the cylinder block so the first task non Monday was to remove said casting and investigate using a flat plate and marking blue indicated that there was some distortion to the flange which had also led to some corrosion to the lower edge.


The high spots can be seen around the holes for the securing studs, this particular casting is not an altogether good example of British engineering design. The flange was fairly quickly straightened up with a few strokes of a smooth file and replaced with a new gasket,while I was at it I changed the engine oil and filter I finished up the day on Wednesday by sucking up the oil from the bilge before giving it a good clean with some industrial strength detergent.

Today I got back to the forward heads door and started by screwing and glueing the top semicircular section of the frame into place followed by a trial fit of the left hand side vertical section of the frame.


Top and left hand side sections of door frame

The latch for the forward door was long gone when I bought the boat it had been replaced by a collection of barrel bolts, knobs and handles I have been looking for something similar to the original, which is still in place on the aft door, I eventually found one on the Force 4 chandlery website which arrived today it is not identical to the original and doesn't have a key operated lock although it can still be locked from the inside.


Original lock on the aft door


Replacement for forward door

I finished up the day by removing all the old door furniture from the forward door, on the original installation the door locks were fitted on the outside of the heads doors but on the forward door I am going to reverse the set up and to cover up as many of the redundant holes as I can I shall make a stainless steel plate of the same footprint as the new latch. I don't know quite why the latches were installed in this manner because it means having a cut out in the door stops to accommodate the latch I may well look at reversing the arrangement on the aft door, unfortunately the doors are not thick enough,at 20mm, to accommodate a mortise latch 


Forward door minus furniture


Friday, 12 April 2019

AIS

The first job on Monday morning was to install the NMEA 2000 backbone kit, the power cable and the drop cable to connect to the chart plotter are only a metre long which limits the position of the backbone, I ended up installing it in the cable void next to the AIS unit I still had to extend the power cable which was just a couple of through crimps the only other option would have been to obtain a longer drop cable to connect the chart plotter and as I already had some suitable power cable it was a simple decision.


NMEA 2000 starter kit


Backbone installed and connected

Once the cables were connected I switched on the power to the NMEA 2000 system and then switched on the chart plotter, the GPS in the AIS unit took a few minutes to lock on to the satellites but eventually a number of ships appeared on the plotter screen shown as triangles on the photograph below the top two are not really on top of each other they are the tugs tied up alongside each other in Sheerness


When I got home I checked on the Marine Traffic website and sure enough a mauve circle indicates New Morning tied up to her berth.

Last weekend I made a start on cutting out the segments to make up the semicircular part of the forward heads door frame. these were then drilled for dowels before being glued together with some thickened epoxy before being clamped up between two pieces of laminated chipboard to keep the whole assembly flat.


Trial assembly of segments


Segments dowelled and ready for glueing

Once the epoxy had cured I marked out the top radius and roughed it out with the jigsaw so that on Wednesday I could fit the top section of the frame into the opening into the bulkhead, I temporarily screwed it into place before setting up the door in it's correct position so that I could mark out the top radius of the door on the frame. I clamped a piece of timber across the door opening at the correct height to support the door in it's correct position before marking the lower edge of the frame.


Door in position temporarily

While the door was in position I measured the width of the right hand vertical section of the frame and marked the position of the rebates for the door hinges. The next stage was to cut the timber down to the correct width and cut out the rebates for the hinges so that this morning I could temporarily install the right hand vertical and attach the door on a couple of screws to make sure that everything would fit and the door would open and close.


Door temporarily on it's hinges

The plan for next week is to permanently install the right hand side and top of the frame, with screws and thickened epoxy. so that the door can be properly hung I can then measure and cut the vertical frame for the left hand side of the door, once this has been done I can finalise the cover strip to cover the joint between the frame and the bulkhead opening, on the forward face of the bulkhead this cover strip will overlap the frame by about 5mm to form the door stops.


Friday, 5 April 2019

Best laid plans

This Monday morning's visit to the recycling yard did not prove very fruitful they had some larger sections of hardwood but I do not have the means of ripping it down so back to the drawing board. Over last weekend I did manage to progress the door frames a little by making a couple of templates for the segments for the top of the frame, I drew the required arch on a sheet of thin ply so that I could ascertain the shape of the segments, the templates were cut from an odd piece of the 4mm laminate used for the bulkheads.


Templates for segments of door frame


Top of door frame drawn out

There are two templates shown the wider one is for the aft door where I am aiming to form the stops as part of the frame, the forward bulkhead is thinner and there will be insufficient thickness in the frame to rout the stops, they will be formed by having the cover strip overlapping the opening. The photograph of the layout for the top of the frame is not very clear but it is possible to see the development of the segment.

The first job on Monday when I eventually got to the boat was to fit the latch to the drop in panel under the cooker and then apply the first coat of varnish to the edge trim. I finished off the day by fitting an LED light fitting into the end of the cabinet housing the engine panel to provide an over bunk light for the quarter berth, I had found this fitting amongst all the other stuff that came with the boat and have been looking for a use for it not wishing to throw it away.


Quarter berth light

The first job on Wednesday morning was to put a second coat of varnish on the edge trim for the drop in panel before moving on to installing the AIS transponder. Some time ago I bought an AIS transponder when Cactus Marine Electronics were having a 'virtual London Boat Show special offer' this years show having been cancelled and I decided that it was time to install it. I started by fitting the aerial to the pushpit and running the cable through the aft cabin via an Index Marine deck gland, I find that these are much superior to the 'waterproof' plugs and sockets.


Aerial mounted on the pushpit


Cable gland

The cable was then run above the quarter berth headlining as far as it would go so that I could site the transponder unit, this has a built in GPS receiver which will work inside the boat provided that it can see the satellites, it will apparently work provided there is only a layer of GRP above it electrical fittings etc are to be avoided. I have sited the unit under the quarter berth just aft of the chart table, as this is as far as the aerial cable would stretch, one of the disadvantages of centre cockpit boats its a long way to the transom, the indicator lamps will be visible with the chart table in its working position.


AIS transponder

The transponder is only temporarily fitted until I can finish the installation by installing the NMEA 2000 backbone and check the GPS reception.

On the way to Conyer this morning I went to a timber merchant and bought some meranti, an African hardwood, for the forward heads door frame so that this weekend I can make a start on the top of the frame, if this is successful I shall obtain some more for the aft door frame. The first job this morning was to wire up the quarter berth light at the moment it is controlled by a spare switch on the engine panel. I finished off the day be pulling the AIS data cables through to the back of the chart plotter which is where I aim to site the NMEA 2000 backbone providing that its power supply cable is long enough to reach the electrical panel, the backbone kit arrived today so that on Monday I should be able to connect everything up and test it.


Friday, 29 March 2019

The big doors again

Over last weekend I sanded the front face of the drop in panel for the space under the cooker, then gave it a coat of primer/undercoat this was then followed up during the week with two coats of white gloss paint. Also over the weekend I made the edge trim pieces from the same hockey stick moulding that I used for the locker doors.

The first job on Monday morning was to put the first coat of wood dye on the edge trim pieces and while the first coat was drying I epoxied a wooden block at the top of the opening under the cooker for the fixed part of the latch for the drop in panel. I then started on trimming up the heads door openings most of the work involved trimming the laminate lining the bulkheads flush with the door openings also I got the two final coats of wood dye on the edge trim pieces.

On Wednesday I continued with the door openings this work is somewhat laborious as the laminate is 4mm thick on both sides of each bulkhead I found that the easiest way to remove the excess material was to use a tungsten carbide pull scraper it made much less dust than an angle grinder or power sander the stuff tends to come off in shavings rather than large amounts of dust, I finished off this morning.


Door openings all cleaned up

The door openings look as though they were originally hacked out with a jig saw and are a bit uneven so the new frames will be secured with screws and thickened epoxy to fill the gaps. To finish off today I pinned and glued the edge trim to the drop in panel, it just needs the latch fitting and a couple of coats of varnish on the edge trim which will be the first job next week. I know have a plan for the door frames and I will form the top semicircular section with several segments glued and screwed into place I just have to find some decent hardwood, I am going to try a source of recycled timber in Strood to start with.


Drop in panel ready for varnish


Back of drop in panel

The above picture is not so clear, sunshine through the hatch, the panel is secured at the bottom edge by the strip of timber with a rebate which hooks over the lower edge of the internal galley moulding, the top will be secured by a spring latch as the various locker doors.


Friday, 22 March 2019

The big doors

The first job this week was to fit the remaining door latches to the locker doors throughout the boat they have all been fitted and adjusted so that the doors are all complete. Over last weekend I glued up the drop in panel for the opening under the cooker and trial fitted it. I have primed the back but the front face required a little bit of filling and fairing, I have done the filling using epoxy thickened with lightweight filler as with the rest of the locker doors it just requires sanding which will be done this weekend.

Thoughts then turned to the two doors for the heads, I have been deliberating on making the door frames for some time, actually as long as I have had the boat, and each time the job has been put in the pending/too difficult tray much the same as that other well known project beginning with a B but I have now decided it is time to get on with it the main stumbling block is the semicircular top part of the two frames, my original plan was to steam bend them this would probably need some air dried white oak, it would then be necessary to make the rest of the frame from the same material and then dye it so I started thinking about plan 'B' which was to laminate the top part of the frame from hardwood using the same material for the rest of the frames. More recently I have been thinking of making the top part of the frame from sections of hardwood glued together and then cut to shape with a jigsaw, finally whichever method I choose I will need to source some suitable hardwood. Over this weekend I hope to come to a decision, I will almost certainly forget the steam bending for the reason previously stated plus it will be necessary to produce a steam box and a source of steam. While I have been thinking about the frames I started on the door openings, on both sides of the saloon bulkhead and the forward side of the forward heads bulkhead where the facing laminate stops well short of the bottom of the door openings.


Saloon bulkhead aft side


Saloon bulkhead forward side

The next job was to cut and fit some strips of laminate and glue them in place these pieces are mainly required to level up the bulkhead before fitting the door frames and the joints will be covered by the frames.


Saloon bulkhead aft side


Saloon bulkhead forward side

It will be noticed that the infill pieces do not extend right down to the bottom of the door openings this is because the doors will not extend that far as the original opening had been extended upwards, I assume that the original openings were a source of bruised heads, and when I reinstated the round top openings I decided to keep the top of the door at the same height and put in an infill piece at the bottom, from a head banging hazard to a trip hazard. The aim next week will be to trim up the laminate on the bulkheads and clean up the openings ready for the new frames and hopefully have a plan for the frames drawn up.