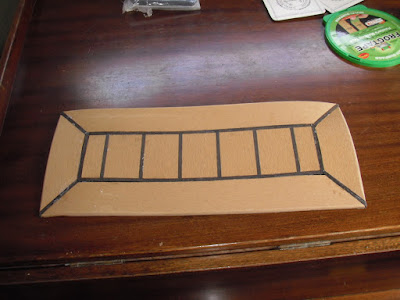
Centre section for aft companionway
The centre section was then cut to width. The caulking was then added all around the centre section using a top hat section material.
Caulking material
To form the outside edge pieces I removed the caulking and the tongue from some more of the strip and sanded a radius on the outside edge, the material is available with a rounded edge and without the caulking but as I was using existing stock it was not worth buying any for the small amount needed., The edging was then glued in place with the solvent cement.
Completed aft companionway panel
The completed panel does not lay flat as the pieces were cut from a roll I did put some weight on it and left it for a while and it does eventually flatten out but if left long enough it seems to have a bit of a memory and it will try and return to the original curve. After giving both areas a good sanding with some 40 grit paper to give the adhesive a bit of a key the back of the panels and the GRP were given a good clean with acetone and the panels glued down with Sabatak, black sticky stuff supplied with the fake teak, and then weighed down to allow the adhesive to cure. I used masking tape to prevent the adhesive from spreading beyond the panels.
Aft companionway
Aft companionway
On Monday morning I shall cut round the panels with a Stanley knife and remove the masking tape. It doesn't show in the photographs but the aft panel is made from Tek Dek the forward panel is Dek King they are almost the same bar the dovetail slots on the back which are slightly different sizes also the colour is slightly different as the panels are not adjacent it's not enough to show and after they have been weathered.


No comments:
Post a Comment