Friday, 15 March 2019

More doors

I started this week by pinning and glueing the edge trim to the steering gear compartment doors and then drilled the holes for attaching the hinges, once this was complete I masked off the white painted area and gave the edge trim on the remaining five doors a first coat of varnish I also put a second coat of varnish on the forward galley locker door.

The first job on Wednesday was to put a second coat of varnish on the remaining five doors followed by the first coat on the teak finger hole liners for these doors, the forward galley door was then put back into position and secured. As the varnish was touch dry on the remaining five doors I finished off the day by fitting the hinges.

First thing this morning I put a second coat of varnish on the teak finger hole liners and then went on to fit the aft galley door.


Galley locker doors fitted

I then moved on to fitting the locker doors in the heads it took a bit of fiddling about to get them lined up.


Heads locker doors

I did think afterwards that there is room for a drawer above the aft door but this would entail moving the switch for the shower drain pump, the black object above the forward door, so that I could fit a dummy drawer front to match the drawer, maybe a job for the future. I then went on to fit the doors to the steering gear compartment in the aft cabin.


Aft cabin doors

After fitting the aft cabin doors I did wonder if they would have been better painted grey, the head lining and the laminate on the top of the compartment is after all grey, the white looks fine in the galley and heads it maybe needs a bit more thought. The first job next week will be to fit the latches to the remaining five doors also the two doors in the aft cabin will require some sort of hold back device to stop them swinging about if the emergency tiller is required. While I am reasonably pleased with the various doors the dyed softwood edge trim is not a good match to the remainder of the hardwood trim used around the boat although it does come somewhere near the teak finger hole liners, which were supplied with the door latches, but even the colour of these does vary a bit they were made in Taiwan probably from odds and ends lying round the factory. 


Friday, 8 March 2019

Doors

I have had several distractions this week which means that I did not get as much done as I had planned I managed to finish cutting and fitting all the remaining edge trim for the doors over the weekend so the first job on Monday morning was to apply three coats of wood dye. The Colron wood dye is water soluble and dries ready for re coating in about an hour so that it could all be done in a day.


Edge trim after three coats of wood dye

I finished off what was going to be a short day by starting to fit the edge trim to the aft galley locker door.

First thing this morning I finished the edge trim to the aft galley door and drilled the holes for the hinge attachment screws it just needs the edge trim to be varnished.


Aft galley locker door

I then moved on to fitting the edge trim to the doors for the under sink locker in the heads these now just require some varnish before they can be fitted.


Heads locker doors

The two doors for the steering gear compartment have the liner for the finger hole fitted they just need the edge trim fitting which is all ready and will be the first job next week.


Aft cabin doors awaiting edge trim

While I was at home yesterday I cut some plywood to make a door for the space under the cooker, this will need to be made up from two thicknesses of plywood due to the step in the moulding, see photograph below.


Opening under the cooker

In the original fit out the step was infilled with plywood flush to the darker coloured area of the moulding. The door will be a drop in type with a latch at the top to match the other doors the plan is to rough out the door over the weekend for final fitting next week when hopefully all will be revealed.

I went to the Kent Boat Jumble last Sunday but due to the threatened wet weather few stall holders turned up it was so bad that the entry charge was reduced to £2 from the usual £4 I did find a decent length of octoplait to make up a second long mooring warp so not a totally wasted journey.


Friday, 1 March 2019

Still in the galley

I started off this week by putting a further coat of varnish on the edge trim on the drawer front panel and the adjacent dummy panel and whilst the varnish was drying I applied three coats of wood dye to the edge trim on the forward locker door. Once the varnish was dry I secured the dummy drawer front and put the drawer in place. I started on Wednesday by pinning and glueing the edge trim to the forward locker door this took a little bit of adjustment to the length of the trim pieces to get a snug fit all round when this was done I gave all the edge trim and the liner for the finger hole a coat of varnish. As it was a warm afternoon the varnish dried quite quickly so I was able to attach the door hinges.


Forward locker door

After attaching the hinges I realised that the 2mm stainless steel that I had planned to use for the packing pieces behind the hinges would not be thick enough so I made some from offcuts of the 4mm thick laminate which had been used to line the bulkheads.

The first job today was to fit the forward locker door I have used 5mm raised head countersunk machine screws with domed nuts on the inside then once the door was fitted and adjusted so that it closed properly I fitted the door catch, once I had adjusted it the door opens and closes quite easily.


Forward door in place


Inside view of door showing the catch

I spent the rest of the day adjusting the edge trim for the aft door before giving it the first coat of wood dye. The plan this weekend is to cut the edge trim for the remaining four doors, the hockey stick profile moulding is a little bit too deep for the 12mm thick doors so each piece requires planing down to suit. Also it is the Kent boat jumble this Sunday, it is not as good as it used to be however it has been a source of one or two gems for this project as they say one man's junk is another man's treasure and there is usually a fair bit of junk/treasure to be seen these days.


Friday, 22 February 2019

Galley

The first job on Monday was to finish the lining to the forward bulkhead in the aft cabin just a couple of narrow strips either side of the engine access panels it was not worth trying to do it all in one piece a lot less waste this way. Once this was complete I lined the narrow horizontal plywood panel which fits across the aft end of this cabin.


Horizontal panel

The rest of the week has been taken up with assembling and fitting the galley drawer front panel and the adjacent infill panel I had managed to stain the edge trim pieces over last weekend so it just needed to be pinned and glued around the two panels I used brass pins and Evo-Stik Sticks Like Sh*t white grab adhesive. Once the edge trim had been secured I started by fitting the front panel to the draw this proved to be a bit tricky trying to get the panel in the correct position so that it would latch properly when closed. In order to make sure that both panels were properly aligned I clamped a straight piece of timber to the front of the moulding before marking the fixing positions. The B&Q drawer box does have a limited amount of adjustment for the position of the front panel both horizontally and vertically but I did find that I had to adjust the position of the draw runners before everything worked in a satisfactory manner, the drawer runners have a number of slotted holes to allow adjustment then once everything is working correctly the runners can be finally secured with screws through the circular fixing holes. 


Setting panels in position


Drawer front panel fitted

The edge trim still requires varnishing I think I have got a reasonable colour match certainly with the teak ring for the finger hole we shall see after the varnish has been applied.

During this week at home I made a start on the edge trim for the two doors for the galley which I hope to complete over the weekend there is a bit more work involved as the hinges have to be fitted also as I am using cranked hinges which are designed for 10mm thick doors, and I have made the doors from 12mm plywood, I have to produce some 2mm stainless packing pieces.


Friday, 15 February 2019

New spray hood

This week has been a day short so I didn't get to Conyer until Wednesday morning James from Channel Sail and Canvass arrived to fit the new spray hood.


New spray hood

James was recommended to me by a friend and he has certainly made a first class job of the new spray hood. While the spray hood was being fitted I got on with finishing the headlining on the starboard side of the saloon the forward plywood panel required some final fitting before I glued on the lining carpet and screwed it into place.


Saloon starboard side headlining

There is a bit of difference in most of the photographs for this post as my camera gave up the ghost and I had to resort to my phone I think that it was because I had put the old battery in and it would appear to be totally dead.

Last weekend I made a start on the edging for the various locker doors and drawer front panels that I am working on now that both sides have been painted.


Locker doors and drawer front panels


Fitting edging to dummy draw front panel

Today I made a start on lining the forward bulkhead of the aft cabin by going over it with a scraper to remove any old glue, loose paint etc. This was followed by cutting out the lining carpet I had to do it in two pieces as the bulkhead is too wide to do it in one, the carpet comes in 2 metre wide rolls and the bulkhead is about 2650mm wide. The next job was to glue the two pieces in place, doing it in two pieces was a much easier proposition even if the carpet had been wide enough.


Aft cabin bulkhead lining

The overhead panels have only been temporarily replaced as I will need to remove them again when I remove the two cabin side panels to replace the doors and fit some new shelves.


Friday, 8 February 2019

Even more headlining

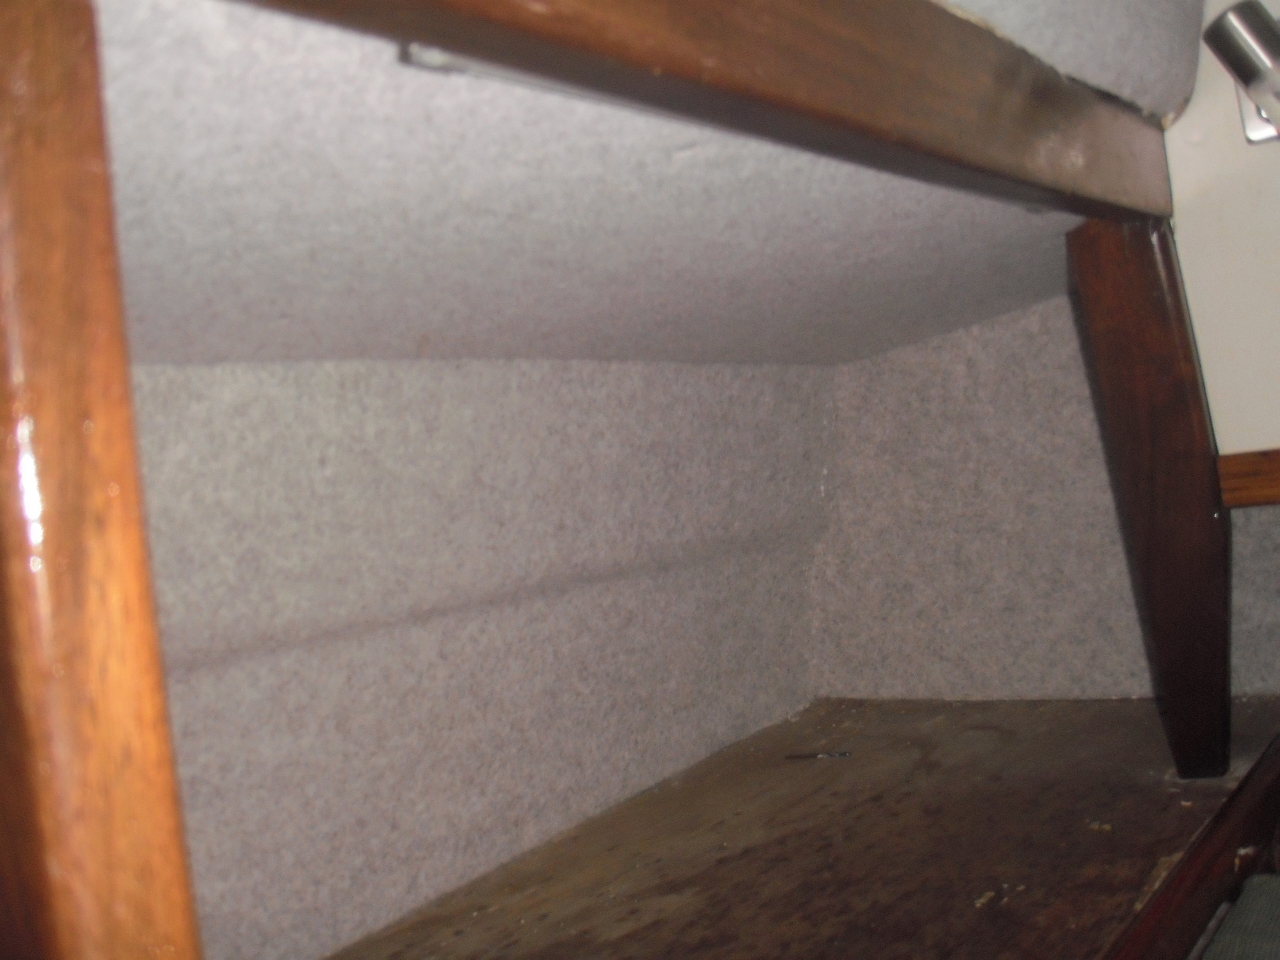
On Monday morning I started by putting some additional timber to support the headlining panel in the quarter berth and once this was complete I did some final fitting to the aft head lining panel for the starboard side of the saloon I had originally made the panels for this area in two parts some time ago. I had decided to make them in two parts to make fitting a bit easier. I had ordered the lining carpet last weekend and it arrived on Tuesday so that first thing on Wednesday morning I could get on with covering the starboard aft panel, the small panel for the bookshelf and the panel for the quarter berth this just left a small area of the aft saloon bulkhead to be covered and once this was done I could fit the small panel for the bookshelf and the starboard aft overhead panel.


Starboard side saloon just the forward overhead panel to fit

The first job today was to line the inboard longitudinal bulkhead in the quarter berth this turned out to be a bit of an awkward job as the lining has to go behind the water tank filling pipe but I succeeded by coating the whole bulkhead with adhesive and then coating the lower 200mm of the carpet and once it had gone tacky I secured the lower edge and then sprayed adhesive onto the next 200mm  and so on until I reached the top, I used the same method for the long length on the starboard side of the saloon which made fitting a lot easier, it is easy to get into a sticky mess when lining vertical surfaces by applying carpet direct to the surface I find using panels for overhead surfaces much easier as I can lay the carpet on a flat surface sticky side up and then just place the panel straight down on it. I finished off the job by fitting the previously lined overhead panel into the quarter berth.


Quarter berth overhead panel

Getting a good photograph in the quarter berth is just about impossible, the aft bulkhead still needs to be tidied up and it also needs a new door to be manufactured and fitted to the void space.On the homework front I have been able to get two coats of gloss white paint on the backs of the various locker doors during this week so that I should be able to progress these items a bit further this weekend
  

Friday, 1 February 2019

Back to headlining

Over last weekend I managed to complete the painting of one side of the various locker doors hopefully the weather will warm up a bit next week so that I can start painting the backs of the doors, I was hoping to be fitting them by now. There is still plenty of work to be done but at the moment I am running out of stuff to do it with so I had a bit of a trawl round and found the lining carpet that I had cut out some time ago for the starboard side of the saloon and so after finishing scraping down the inside of the hull I glued it in place which has tidied things up nicely in this area, this was the last usable piece of lining carpet left although I do have a bag full of odds and ends which may come in useful sometime. I already have the panels made for the under deck area just need to order some more lining carpet for this and several other areas.


Saloon starboard side 

I spent some time spiral wrapping the single core cables running through the port side of the aft cabin this is a bit of a laborious task as previously described some time ago, the action of winding the stuff round the cables tends to tighten up the spiral so every so often there is a need to stop and unwind it.

Today I made and fitted two plywood headlining panels one for the quarter berth and a small one which fits at the end of the bookshelf, see last weeks blog post, just awaiting some lining carpet which hopefully will arrive early next week if this awful weather does not hold things up.


Quarter berth headlining panel


Small panel for bookshelf

That's about it this weeks efforts don't look much but things are further forward than they were on Monday.